
MOSCOW, April 16A new approach to quality control of aerospace materials without their destruction was proposed by Tomsk Polytechnic scientists as part of an international research team. The study results were published in the Journal of Nondestructive Evaluation.
Today, in the aviation industry, multicomponent materials consisting of two or more layers with different physical and chemical properties — composites — are increasingly used. When such layers are combined, a new material appears that has specified properties that natural materials do not have. In addition, the use of composites allows, while reducing the weight of the structure, to improve its characteristics and make it stronger, experts said.
The creation of such materials is a complex multi-stage technological process, which can result in invisible defects, so each product must be checked separately, noted specialists from Tomsk Polytechnic University.
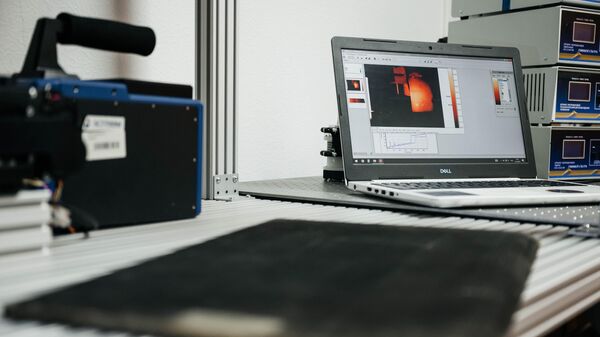
Methods are used to diagnose finished parts non-destructive testing, which do not require dismantling the object or decommissioning it. One of the traditional methods is thermal control, in which the surface of the material is heated, and then its temperature is recorded as it cools using a thermal imager.
Experts explained that the methods currently used have a number of difficulties associated with the rough surface and uneven emissivity of materials when they are heated. Temperature changes over time lead to thermal interference and loss of the temperature “signal” from an internal defect.
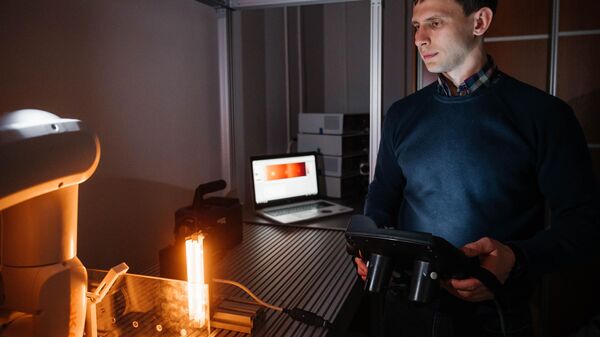
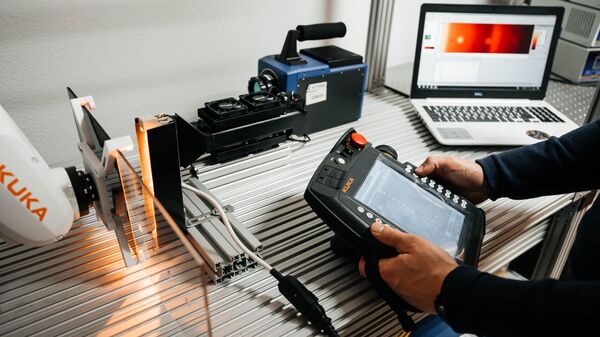
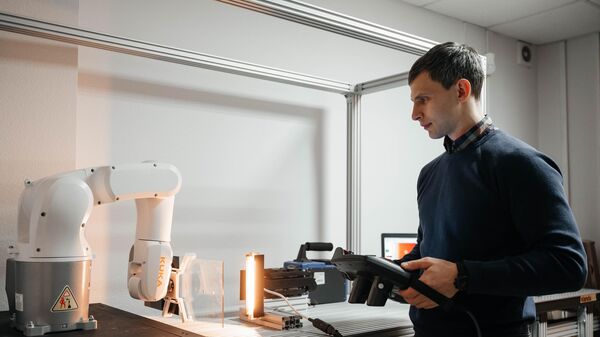
Scientists from Tomsk Polytechnic University have developed a new method for thermal non-destructive testing of composites used in the aerospace industry. It will make the control of materials more reliable and will prevent signal omissions from an internal defect, experts said.
The essence of the method is to use forced cooling in combination with the main heating pulse when detecting defects in carbon and fiberglass reinforced plastics required in the aerospace industry.
According to Arseny Chulkov, a senior researcher at the Center for Industrial Tomography of Tomsk Polytechnic University, the use of forced cooling of the surface being studied at a certain point in time after its heating causes an interesting phenomenon when the excess temperature of the surface of the sample drops to its initial temperature, while the internal structure still “gives off” heat .
“
"Hidden defects still produce significant temperature signals. In this case, the magnitude of the temperature contrast—The ratio of the temperature signal to the temperature in the defect-free zone—increases significantly. As a result, against the backdrop of the “depressed” surface noise, temperature marks of defects are visible better,” said Chulkov.
1 of 4
2 of 4
3 of 4
4 of 4
1 of 4
2 of 4
3 of 4
4 of 4
He also noted that artificially increasing the temperature signal increases the likelihood of detecting internal defects. In addition, the combined heating and forced cooling procedure, unlike the classical thermal testing procedure, does not require a high thermal load to provide reliable results in defective areas.
Based on the results of the study, the scientists are developing a new portable flaw detector, the prototype of which will be ready by the end of 2024, the university said. According to Chulkov, it will be suitable for monitoring defects in optically transparent and translucent composites.
The research was supported by the Russian Science Foundation.











Свежие комментарии